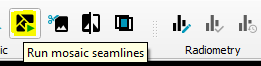
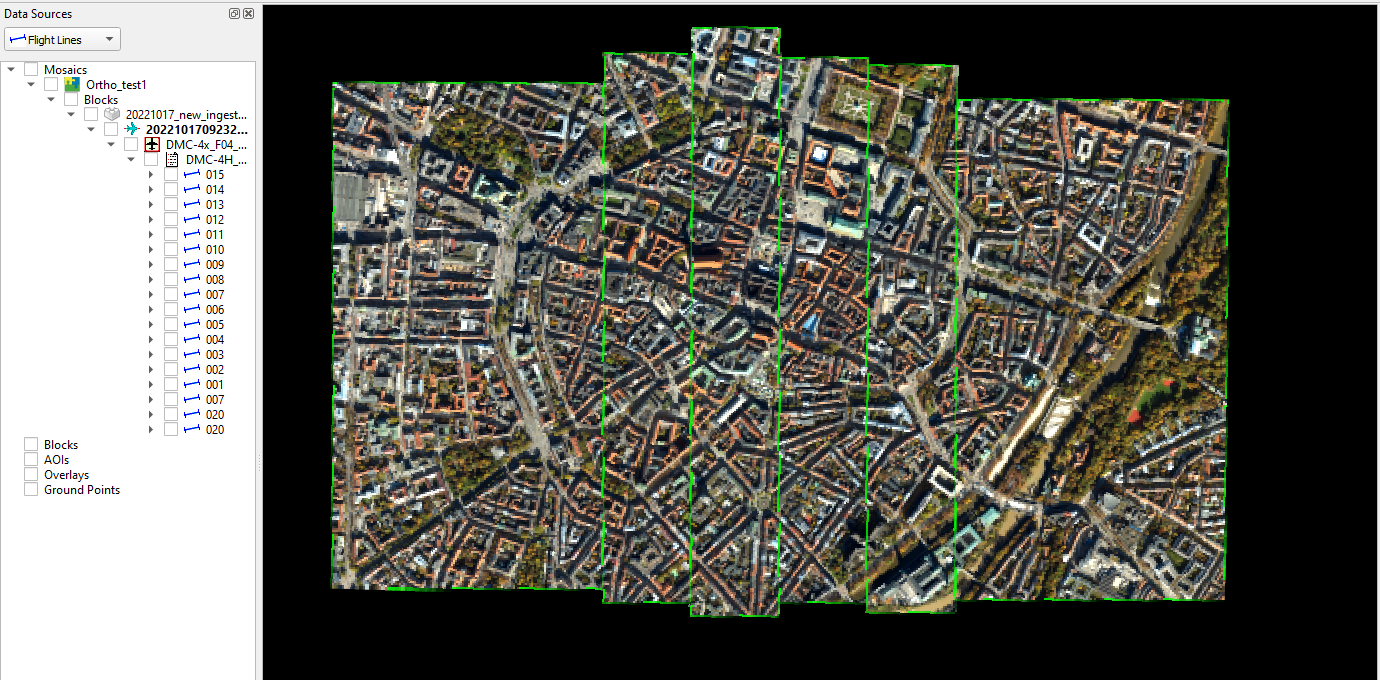
Mosaic seamlines determine the ground location where the transition between individual images in the mosaic will occur. Use the "Run mosaic seamlines" button to generate seamlines.
Make sure to have Ortho product with properly balanced radiometry before running smart seamline, otherwise the optimal seamless result will not be achieved.
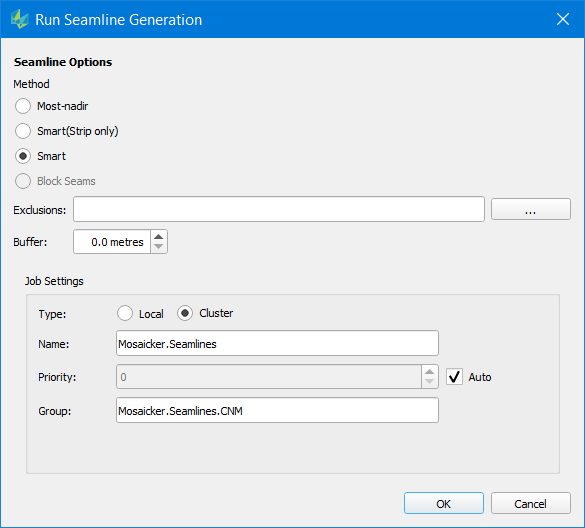
In the “Run Seamline Generation” window user can:
-
Choose one of the seamline generation methods
|
Name |
Description |
Preview |
|---|---|---|
|
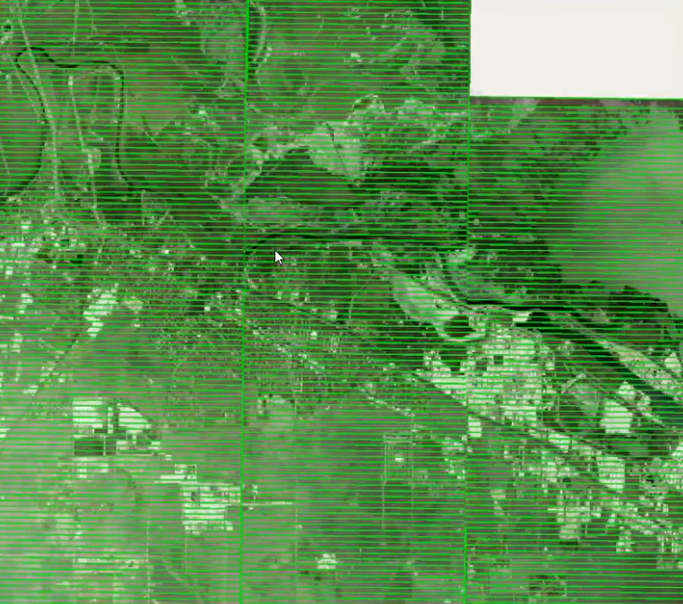
most-nadir |
simple seamlines generated as straight lines |
|
|
smart (strip only) |
smart seam placed between strips, most nadir seam placed within strips |

|
|
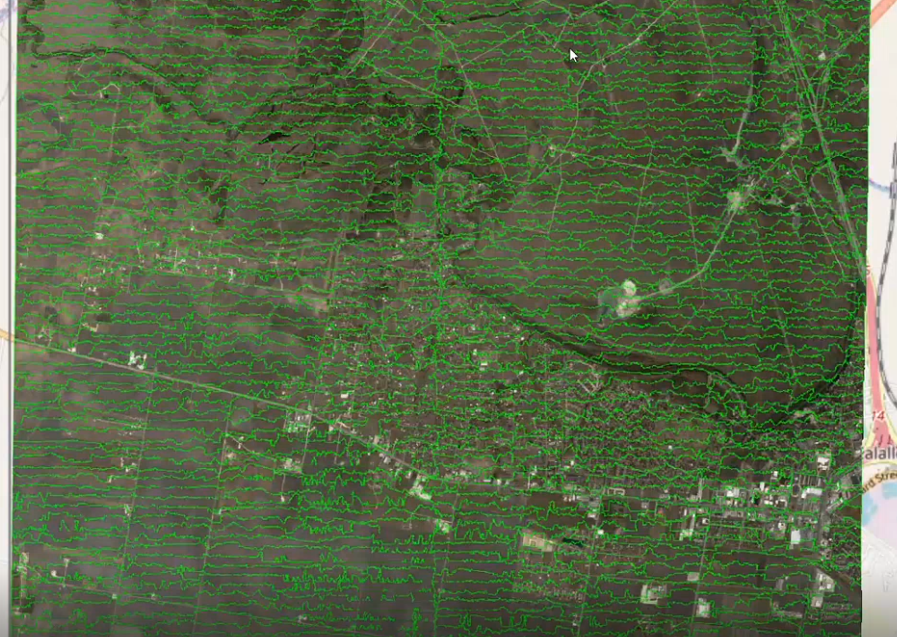
smart |
smart seam placed between all overlapping images |
|
|
block seams |
place a smart seam between original and reference images whose seams were computed in separate projects |
|
-
Optionally define exclusion polygons, that should not be crossed by the seamlines (e.g. buildings)
-
define a buffer for exclusion polygons
The seamline generation can be either run locally or using a processing cluster as described Job Handling.
After the process is finalized, seamlines are available on the Seamline layer and can be shown in the MapView in lime green color.
-
In case you need to re-run seamlines in a project, e.g. because you first decide for most-nadir and then later decide for smart seamline, perform the following steps
-
Delete the HxMap project \overviews folder
-
Delete the HxMap project \scenarios\footprints and \scenarios\alphas folders
-
Edit the HxMap project \scenario\Scenario.xml file and remove <Overview> references
-
-
Seamline re-run is supported when Mosaic has Original images only
-
In case seamline generation fails while processing on Cluster i.e. due to network or storage issue, it will be necessary to re-run seamlines from the beginning