Using the LiDAR viewer
After Ingest, the point clouds data for the Lidar takes can be loaded into the built-in LiDAR viewer which is available in both QC perspective and Product Generation perspective.
Loading data into the LiDAR viewer
Loading of single takes
To load a single take right-click on the take in the data source view and select ‘Display take’ from the context menu.
Loading of multiple takes
To load multiple takes, select takes first and then press the ‘View Capture in QC Viewer’ button in the toolbar:

LiDAR Viewer Layout
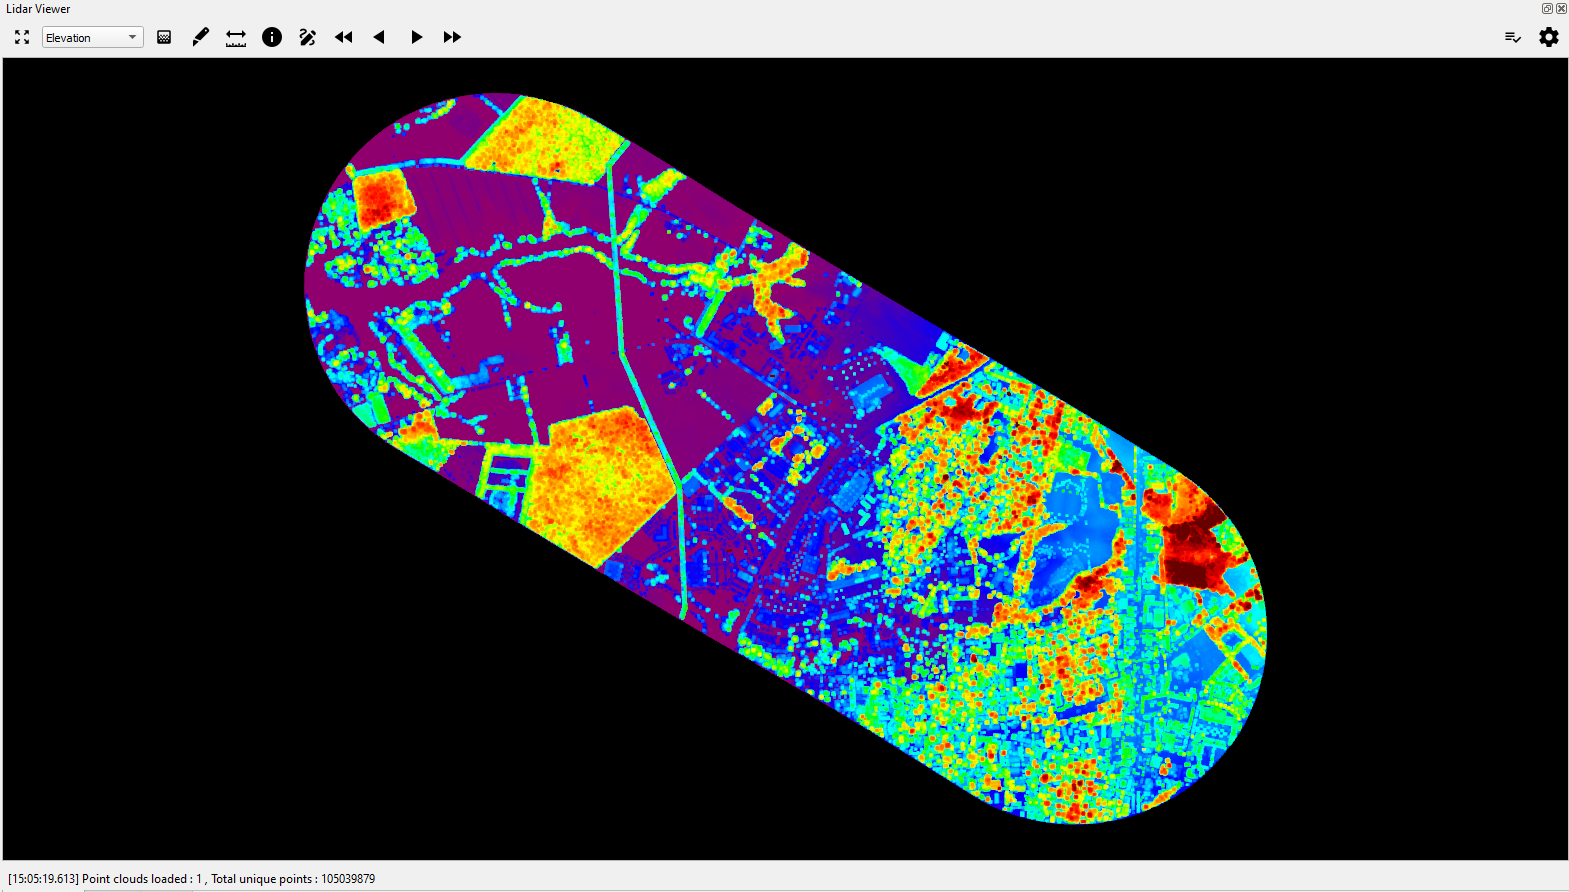
The layout of the LiDAR viewer consists of a toolbar, the main 3D view and a status bar at the bottom. Availability of tools as well as behavior of different icons depends on the data currently loaded in the viewer or the mode selected. By default the viewer will load data in a top-down, north-up view.
Toolbar elements
 | Zoom to Extent - resets the view to the default top-down and north-up orientation, zoomed to enclose the full extent of loaded data. |
 | Drop-down to select visualization mode for loaded points. |
 | Toggle to blend the intensity value into currently chosen visualization mode. |
 | To draw a cross-section in the Lidar viewer. The cross-section will be shown automatically in the Lidar viewer. |
 | Toggle to measurement mode. Measure distance between two points. |
 | Toggle to information mode, select a point on screen and show the point information. |
 | Toggle to activate QC drawing mode. |
 | Navigation buttons:
|
 | Button to open the class visibility panel. |
 | Button to open the viewer settings. |
Navigating in the LiDAR viewer
Compared to the main map view and the image viewer, the LiDAR viewer uses a 3D visualization of the data. By default, the left mouse button will orbit the view and the right mouse button can be used to pan the loaded point cloud.
If desired, these controls can be changed as described here: Defining keyboard shortcuts
Resetting the view
By default, point clouds are loaded in a top-down, north-up view, zoomed to fit the full extent of the loaded data. To return to this view, simply press the ‘Zoom to Extent’ button in the toolbar.
Cross-Section Viewing Mode
To draw a cross-section, hold the shift key and use the mouse to select points where to draw the cross-section. When viewing a cross-section, the view angle is adjusted automatically so that the view is perpendicular to the segment drawn with the z-axis pointing upwards. To deactivate the cross section viewing mode (which enables rotation across all axis), right click on the screen and toggle the Cross-Section mode off.
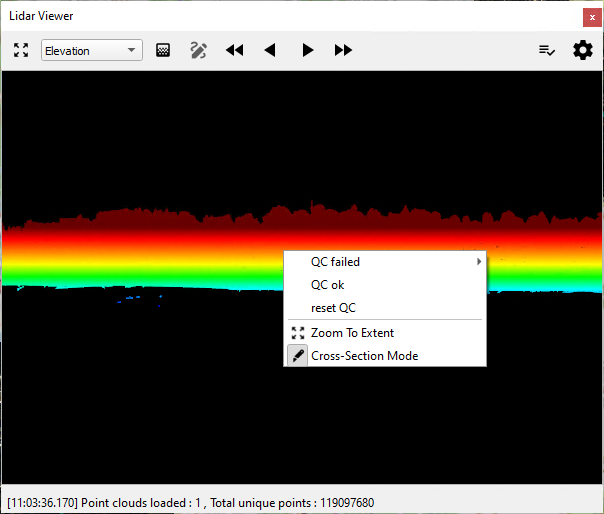
The same way the cross-section mode can also be activated when viewing any point cloud. Without cross-section segments defined, the view will only be adjusted to make the z-axis point upwards.
By default the cross-section width is set to 1m, users can hold the left button and drag to adjust the width. User can also select multiple nodes in the cross-section if want to track certain features in space.
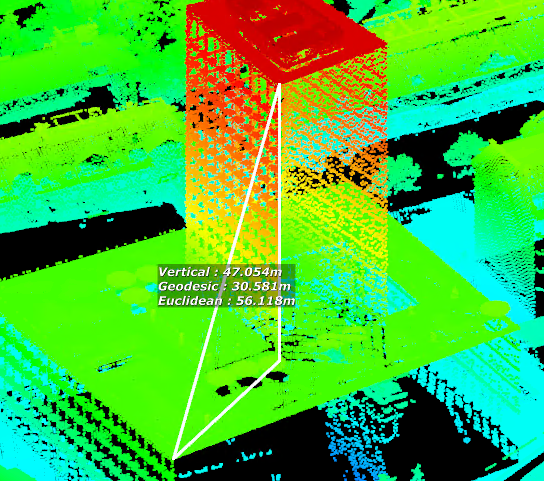
Distance Measurement
The point cloud viewer also allows measuring distances between two selected points. To start the measurement, activate the tool through the toolbar.
With the tool active, press the shift key and click on the first point. The cursor will change into a cross-hair when positioned over a point. Then repeat the process for the second point. HxMap will then display the measured distances directly in the viewer:
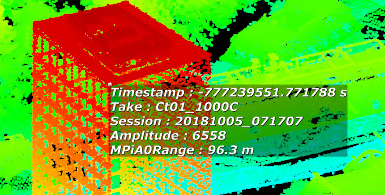
Point Information
For some applications and workflows, it can be required to extract the attributes from selected points. Like the distance measurement, activate the tool and select one of the points in the viewer. The information extracted is then also shown directly in the viewer:
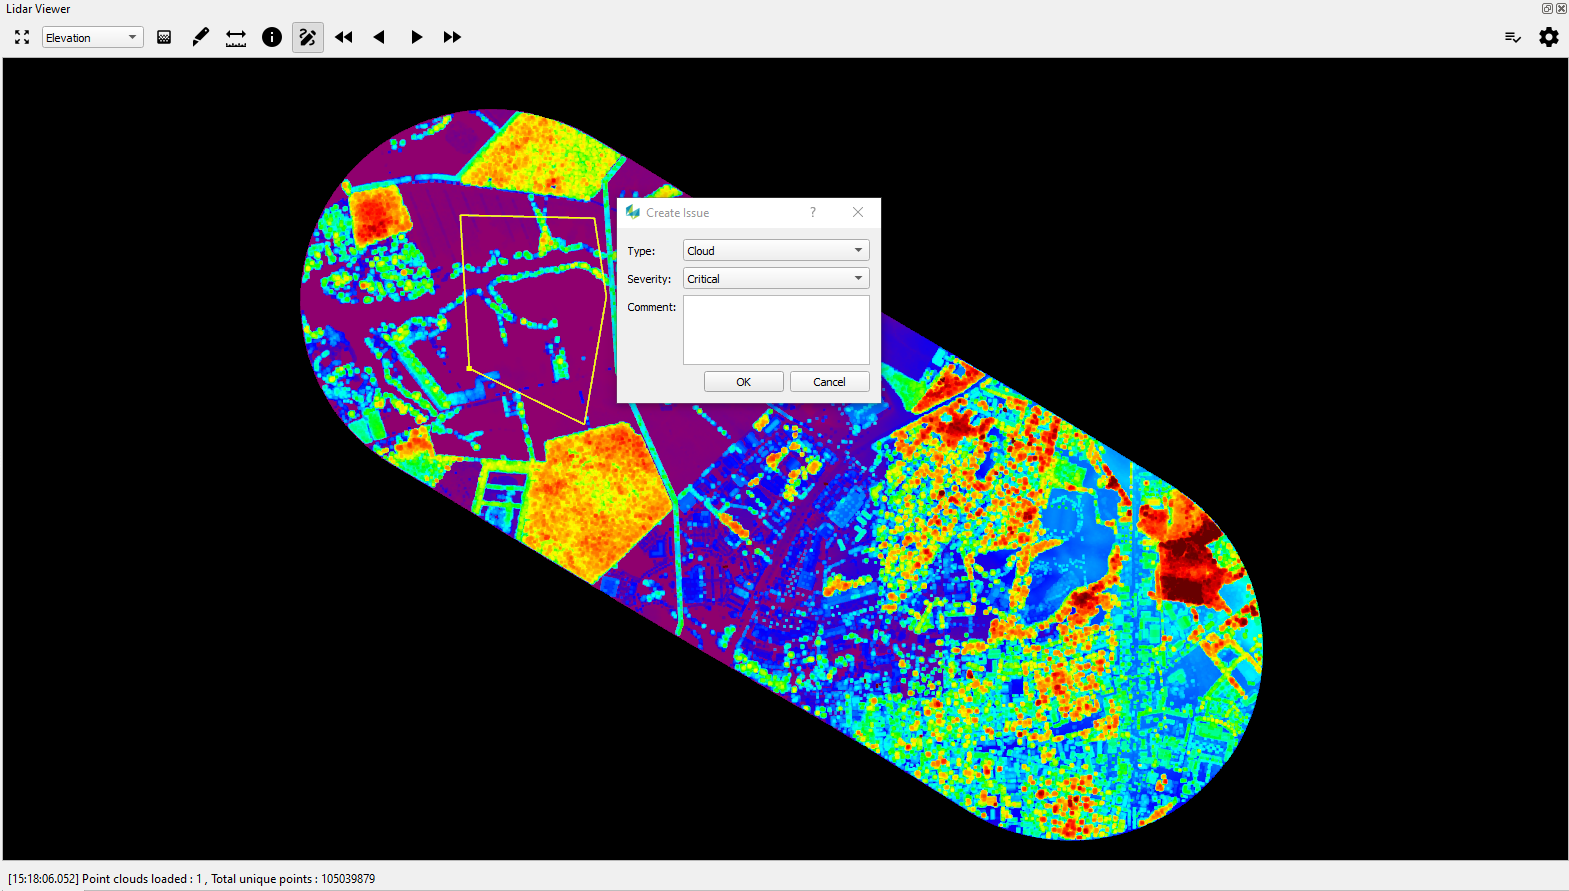
QC Polygons
To QC Lidar point clouds manually, users can enable the QC polygon modes. By selecting the toggle drawing mode, users can then use the mouse to select the problematic areas to identify the problems. All issues will be automatically stored in the QC file for every session.