Working with Filters
In addition to layer management the WFM can also filter the the data source based on specific attributes for display. This feature is especially useful when working in the Triangulation Perspective. By default, all point and image attributes are selected. In the example below the effect of turning on a filter for number of rays (for measurement tie points) is illustrated.
Example
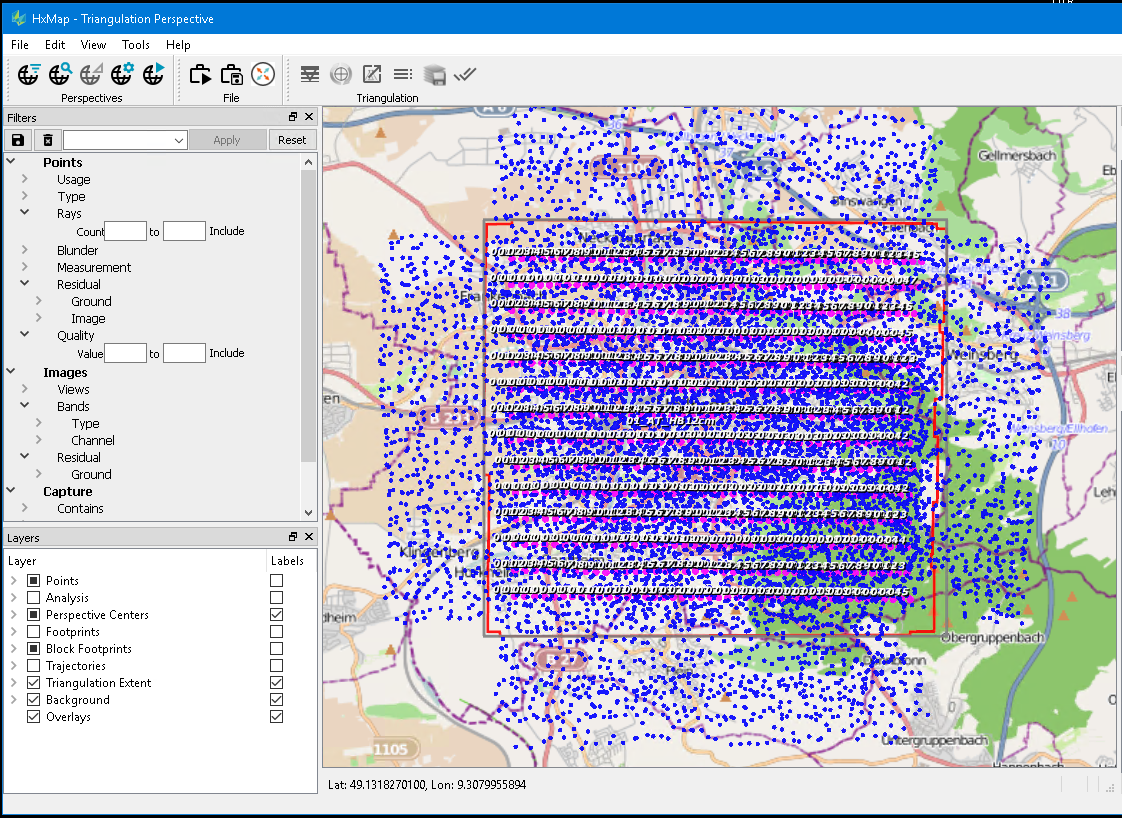
In the above screenshot the user is in the Triangulation Perspective and tries to evaluate the distribution of tie points after running Automatic Point Measurement (APM). Initially, no filters are set, and the Point, Block Footprints, Triangulation Extent and Background layers are turned on.
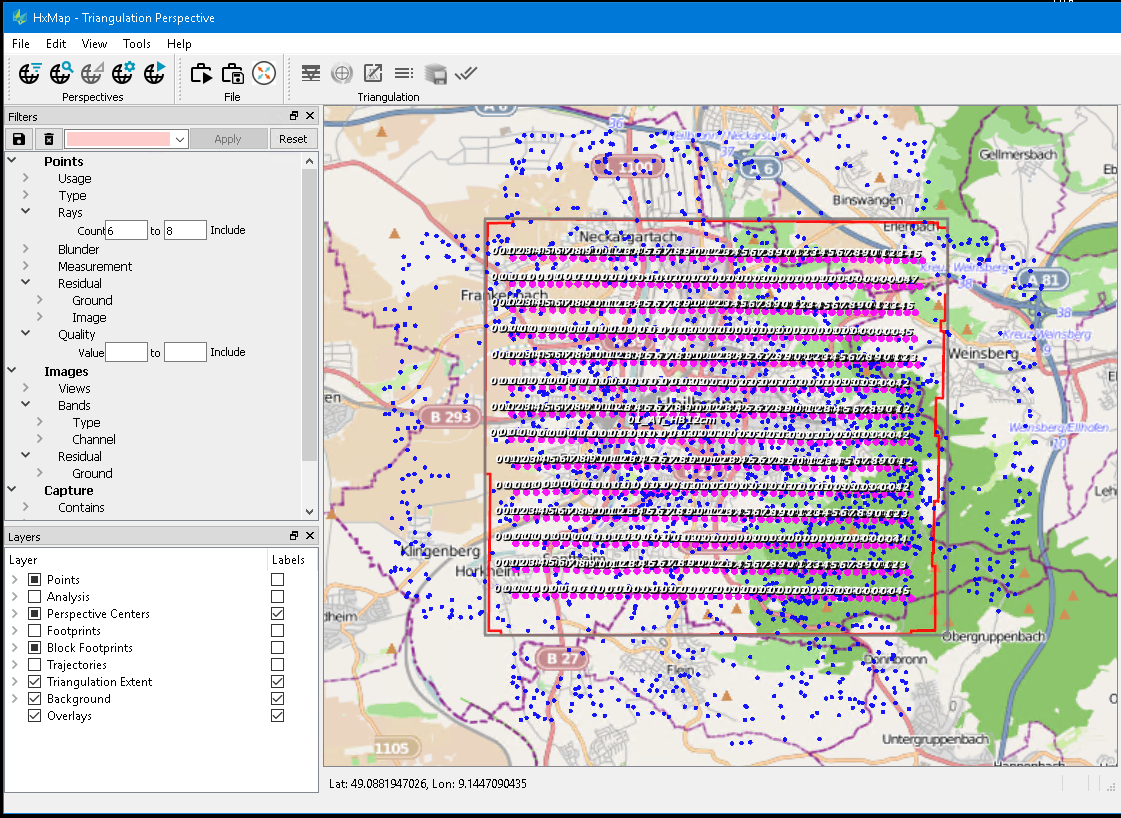
If the user, for example, only wants tie points displayed that have been measured in at least 6 but no more than 8 images he needs to enter '6' and '8' in the Rays Count fields in the filter view and hit the 'Apply' button.
The resulting views are as follows:
Filter settings can also be saved under a name and used as presets by
Selecting filter settings
Entering a name under which the preset should be saved
Clicking on the save button

Once the filter preset is saved it is added to the pull-down menu and persisted even after exiting HxMap. By selecting a preset from the pull-down menu, it will be applied immediately.
To remove a preset select it in the pull-down menu and hit the delete button (red cross) as shown here:
