Using Overlays
In addition to fixed layers the user can also import overlays into the map view. Overlays can be either raster or vector files. Once loaded, an overlay is available throughout all perspectives.
Adding a raster overlay
To import a raster file, the raster data is required to be georeferenced and include image minifications for reasonable display performance.
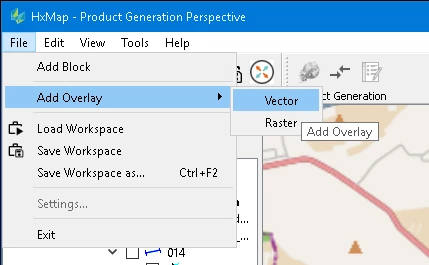
Go to ‘File’ > ‘Add Overlay’ > ‘Raster’ in any of the perspectives. Select one or more files of the supported file types (*.tif, *.ads, *.jpg). HxMap will load the images to the main map window using the georeferencing information provided.
Adding a vector overlay
HxMap supports adding vector data in the form of *.shp or .tds files. ArcGIS shapefiles require a projection file (.prj) so that they can be correctly transformed into the map view coordinate system.
In any perspective go 'File' -> 'Add Overlay' -> 'Vector':

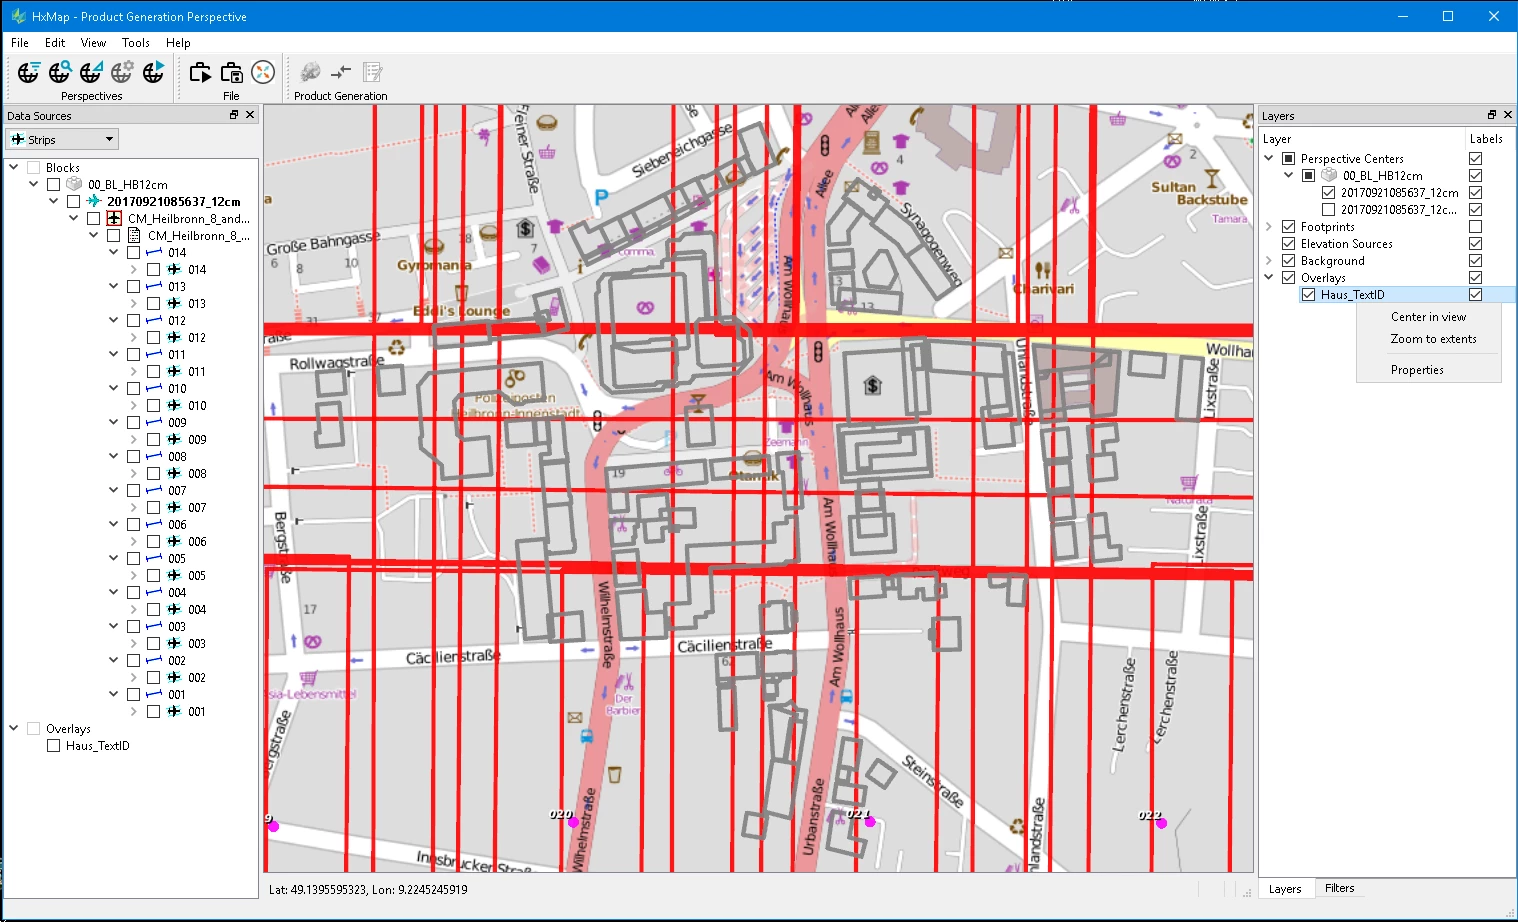
Once a vector overlay has been loaded a new dynamic layer is generated in the Layers view with the same name as the file and the layer is displayed.

Removing an Overlay
To remove an overlay right-click on the respective item in the data source tree and select ‘Remove’.