Edit seamlines
Mosaic Perspective provides an Editor window in case the generated seamline placement needs to be adjusted. The workflow for editing seamlines is:
Choose Editor mode
Select seamline area to edit
Activate the edit tool
Place new seamline segment(s) in the Editor
Commit changes to mosaic project
Choose seamline editing mode
The Editor window provides two different modes of seamline editing.
Strip mode: edit seamlines between strips. User can cross individual image boundaries without starting a new edit.
Take mode: edit seamlines between images. User needs to start a new edit for each image boundary.
Use the Editor mode toolbar button to toggle the mode.
Editor mode toolbar button
Select seamline area to edit
Select the seamline area to edit by Ctrl button Left mouse button double click in the Map window. The following sequence occurs:
Corresponding area is loaded to the Editor and Preview windows
Editor layout will correspond to the active Editor mode:
Strip mode: split windows showing the two strips to edit. Oriented left-right or top-bottom depending on flight direction
Take mode: single window showing neighboring images to edit.
Edit the seamline
Editor will be in Pan mode after selecting area to edit. User can pan along the seamline to the precise location where an edit is required, then switch to Edit mode to place new seamline segments.
Pan mode is indicated in the Editor toolbar by the Pan mode icon:

Editor in Pan mode
Switch to Edit mode by clicking on the Pan icon, or press the ‘e' key on the keyboard. The Pan icon will change to an Edit icon to show that editing is active. Pressing the icon or pressing keyboard 'e’ key again will complete seamline edit in progress and return the Editor to Pan mode.
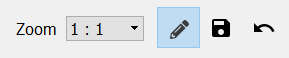
Editor in Edit mode
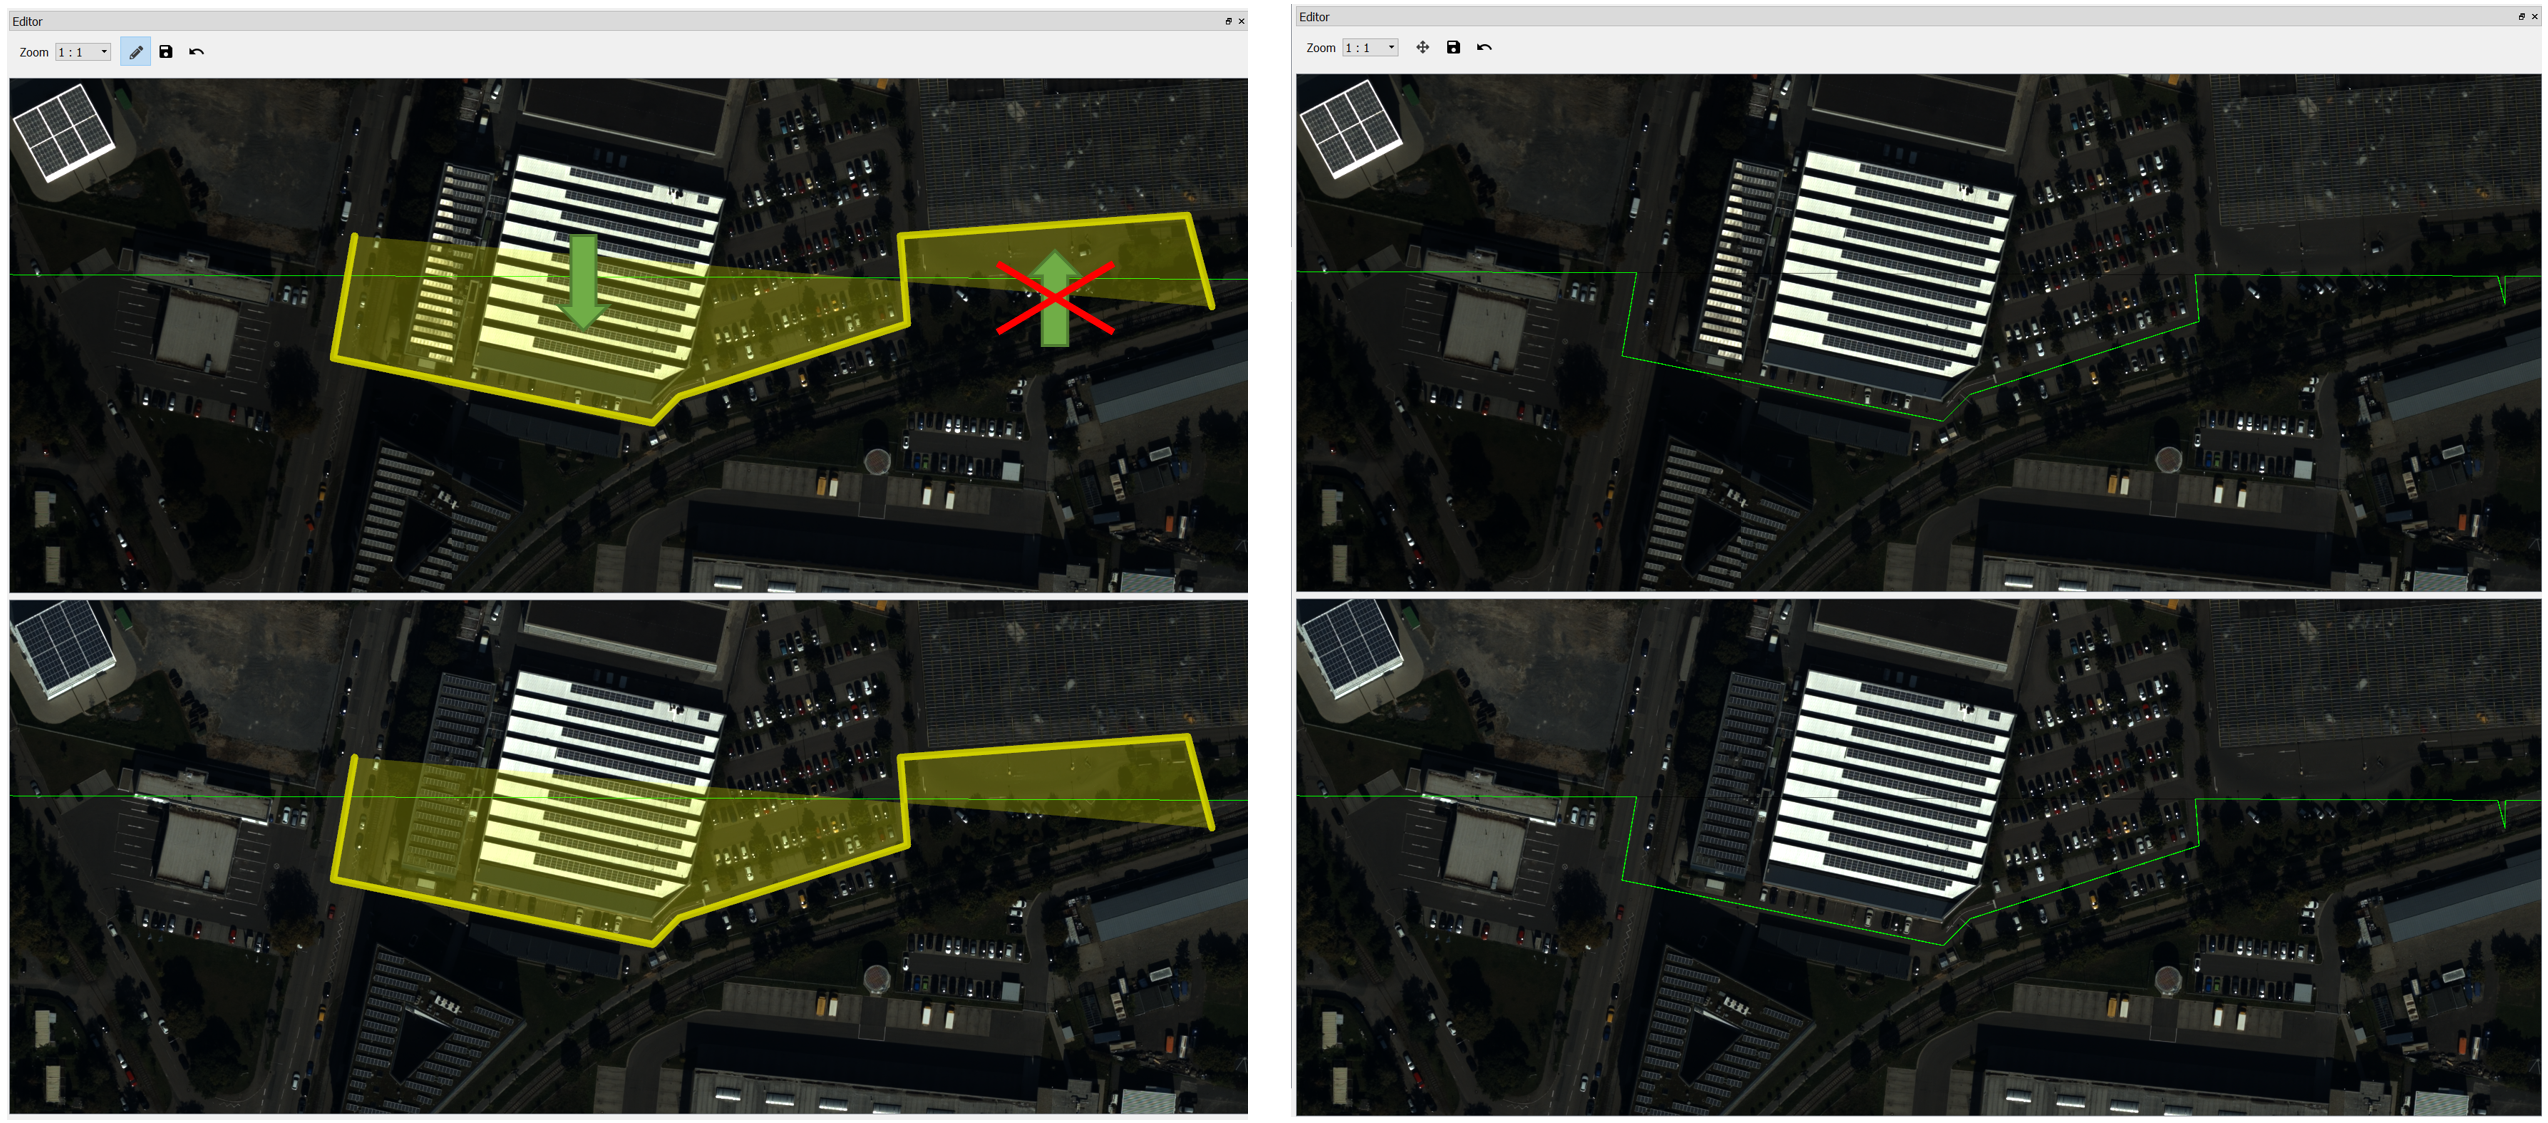
With Edit mode activated, user can digitize a new seamline path by Left mouse button click in the Editor window to place new edit nodes.
Seam editing works on the concept of increasing the contribution of a strip or image in the mosaic
The user indicates which strip or image should be increased by placement of the first Left mouse button click in the respective portion of the Editor window
In the example below, seamline was changed in the upper strip, therefore seam was only pushed downwards in the left part, but not pulled upwards in the right part.
Previewing effect of seamline edits
Both the main map view as well as the preview window will visualize how imagery looks like after cutting the image extend to the defined seams.
The preview window will additionally simulate a feathering effect which allows the user to evaluate if a line needs to be adjusted further.
The feathering distance in the preview window is currently fixed to 20 pixels. Choosing a different feathering distance for cutting the final mosaic tiles will result in differences between preview and final output.
Undo changes
While editing seamlines, a user can undo changes by either clicking the undo button or pushing Ctrl-Z.

As long as edit mode is active, undo will remove previously placed nodes one by one in the reverse order of placement until all nodes have been removed.
If edit mode is not active, undo allows to revert edits segment by segment until all edits since last commit have been reverted.
Edits that have been committed can no longer be reverted using the undo function
Committing changes
Once a user is satisfied with the seamlines (or wants to end his editing work) changes need to be committed so that they are saved with the mosaic project.
To commit changes, you either click on the corresponding icon in the toolbar or use the Ctrl-S keyboard shortcut.

HxMap will warn the user when closing a mosaic project that has unsaved edits