The Mosaic Perspective allows a user to prepare seamless DEM Ortho mosaic tiles from HxMap Ortho products.
The Mosaic perspective is launched via View > Display perspectives or the Mosaic Perspective icon:
Layout
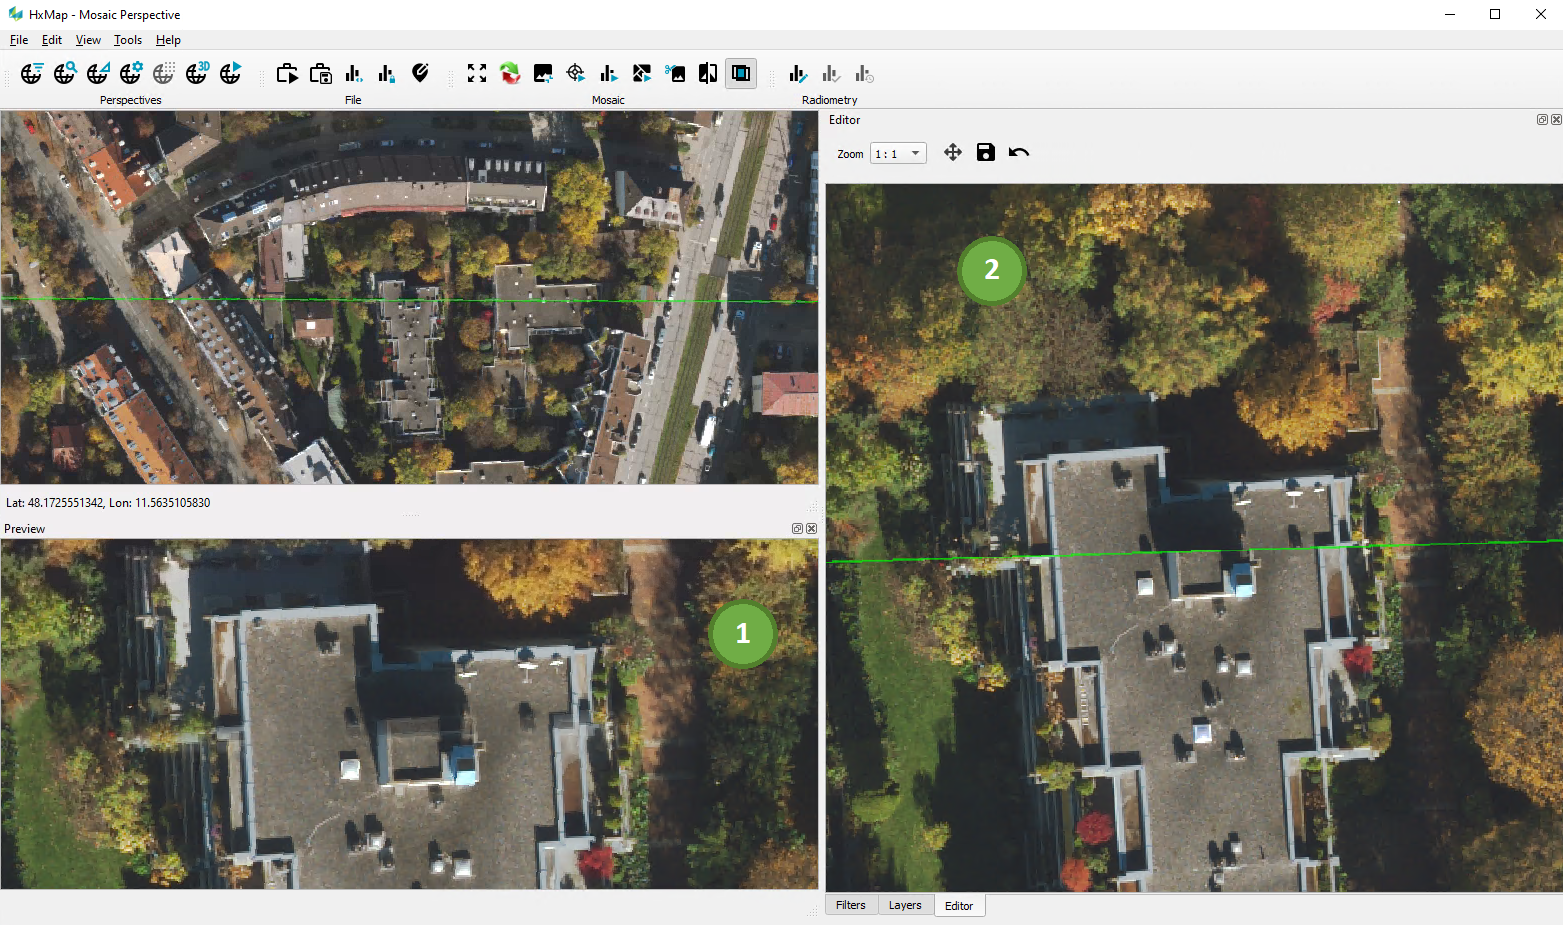
The Mosaic Perspective adds the following new views in addition to the common windows like data source, mapview, filters, layer, log:
-
Preview: a window that shows the final results with feathering applied to the seamlines
-
Editor window: where seamlines are edited in either strip or take modes
Windows are activated in the View menu and can be arranged to the user’s liking.
Navigating in the Mosaic perspective
As a user, navigation within the mosaic perspective should be very intuitive as main controls match behavior of other perspectives. Some mosaic-specific behavior is as follows:
-
using the “z” key, a user can quickly zoom out and back in which allows to get a quick overview of where in a project the user is currently situated
-
a zoom to extent toolbar button allows the user to zoom out so that the full extent of the mosaic project is visible in the map view

-
both map view and preview window follow the location of the editor (panning in the editor will move the imagery in the other two windows)
-
user can roam in map view and preview window without changing location of the seamline editor (panning in the map view and preview window will NOT move the imagery in the editor)
Typical workflow
The typical workflow to generate mosaic tiles is:
Notes for Mosaic in HxMap 4.6
-
Only flight plans in block configuration are supported. Flight plans in corridor configuration or with lines on arbitrary heading overlapping the block may give unexpected results in seamline generation.
-
Ortho product inputs to the mosaic are required to be in 16-bit TIFF format. Its recommended to use 16-bit Big TIFF with lossless JPEG-LS compression to reduce storage requirements.
-
Ortho product inputs to the mosaic must be generated with minifications.
-
Strip edit mode is designed for flight plans with 50% side overlap or less. In case the flight plan is acquired with more than 50% side overlap, use Image Output specification ‘Clipping Across Flight Direction’ in Ortho product generation to reduce side overlap when its desired to use the Strip edit mode with these plans.
-
When a high forward overlap is planned to minimize building lean, Image Output specification ‘Clipping In Flight Direction’ can be used to reduce the storage required for the ortho images to be associated to the Mosaic, especially for Most Nadir and Smart Strip Only seamline generation. Take care not to clip the ortho more than the overlap gain + 10% when Smart seamline generation is used, to allow sufficient image area to find the seamline between takes.
-
Smart seamline requires properly adjusted radiometry to achieve best results. HxMap offers the possibility to adjust radiometry in Blockwide Radiometry, before Ortho product generation, and in Mosaic, after Ortho product generation. In the future, radiometry adjustment will be removed from Mosaic, so it is preferred to begin using the Blockwide Radiometry adjustment now. The workflow adaptations for the two methods are given below. Choose only one method, do not mix both options.
-
Options to balance radiometry for smart seamlines
|
Workflow Setting |
Blockwide Radiometry |
Mosaic Adjustment |
|---|---|---|
|
Radiometry Template |
|
|
|
Radiometric Profile |
|
|