Coordinate Systems
The GeoData_x.x.x(x64)_Installer.exe will install necessary definitions of coordinate system reference frames as well as basic elevation models into the following folder, if not specified otherwise: C:\Program Files\Hexagon\GeoData
The coordinate systems selection dialog
The coordinate systems dialog is part of many dialogs of the HxMap Workflow Manager, e.g.
when defining a block
when defining an AT or 3D Editor project
when importing ground control points
when exporting products
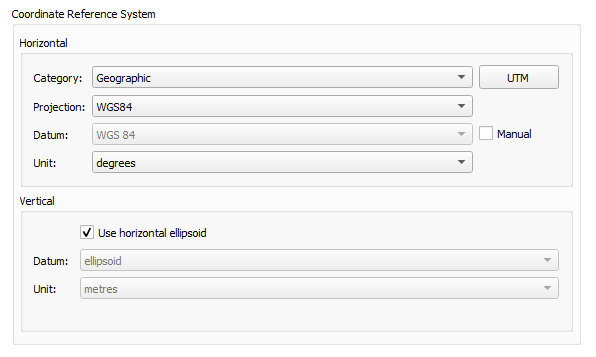
Horizontal
Use this section to specify settings for the horizontal coordinate system.
Category
Select the projection category from this drop-down list. This is the name of a category in which the projection is saved.Projection
Select a projection from this drop-down list. Your projection choices vary depending on the category you selected.Datum
A horizontal datum is a mathematical model of the Earth's surface that is used to
calculate the coordinate components of a point on the surface of the Earth. This field is read-only. Its content depends on the selected category and projection.Unit
Select the units associated with the horizontal system from this drop-down list
Vertical
Use this section to specify settings for the vertical coordinate system if it is not the
same as the horizontal coordinate system.
Same as horizontal
Select this check box so that the vertical datum is the same as the horizontal datum.
When this check box is selected, all other options in the Vertical section are inactive.Datum
Select the vertical datum from this drop-down list. The vertical datum is a reference
surface to which heights and elevations are referred.Unit
Select the units associated with the vertical system from this drop-down list.
Check spheroid and datum parameters
The procedures described below help to find out if a spheroid or a datum is predefined and what is the name of the spheroid or a datum, but also, if a spheroid or datum known by name in Leica HxMap has the correct parameters associated with it.
The data are stored in the file ’spheroid.tab’ which is located in the folder
C:\Program Files\Hexagon\GeoData\Geodetic (default installation)
Procedure to check spheroid parameters
Make sure Leica HxMap is not in use
Copy the file spheroid.tab and save it with a backup name
Open the file spheroid.tab with a text editor such as ’Notepad.exe’
Search for the spheroid name. e.g. Bessel. You find the following parameters:
"Bessel" alias "Bessel 1841" { 3 6377397.15500 299.15281285
where
3 = counter
6377397.155 = a of spheroid
299.15281285 = flatteningCheck if the parameters match the expected values.
Close the text editor
Procedure to check datum parameters
Make sure Leica HxMap is not in use
Copy the file spheroid.tab and save it with a backup name
Open the file spheroid.tab with a text editor such as ’Notepad.exe’
Search for the datum name. e.g. CH1903+ (L+T1997). You find CH1903+ (L+T1997) in section ’Bessel’ and the following seven transformation parameters:
"CH1903+ (L+T1997)" 674.374 15.056 405.346 0 0 0 0
where
"CH1903+ (L+T1997)" = Datum name
674.374
15.056
405.346
0000
= 7 parameter transformation
SRTM3 and SRTM30 data Install
Global topographic elevation models such as the Shuttle Radar Topography Mission (SRTM) from NASA and Global Multi-resolution Terrain Elevation Data 2010 (GMTED2010) from USGS are available for public use. The SRTM data coverage are shown in the graphic below:

Global SRTM3 data is available on a USB flash drive (850367 Global Digital Elevation Models on USB) for convenient installation and use in HxMap. The same Global SRTM3 data is also used for flight planning in Leica MissionPro. The USB flash drive (850367 Global Digital Elevation Models on USB) is included with new airborne systems. It is also available on the Leica Geosystems FTP site for download.
Downloading Global Digital Elevation Models
The Global Digital Elevation Models installer was split into six files to make downloading easier.
Download all 6 files before continuing.
Copy all six files downloaded into the same folder
Only unzip the first file (850367-Global_Digital_Elevation_Models.zip.001) with 7-Zip software (http://www.7-zip.org/ )
Wait until the unzip process is complete.
Start the installer by running SRTMSetup.exe.
Installation of Global Digital Elevation Models
The Installation of Global Digital Elevation Models data requires a local disk space of 2 GB for the minimum installation. To install Global Digital Elevation Models data follow these steps:
Insert the USB flash drive. During the installation the following dialog opens:
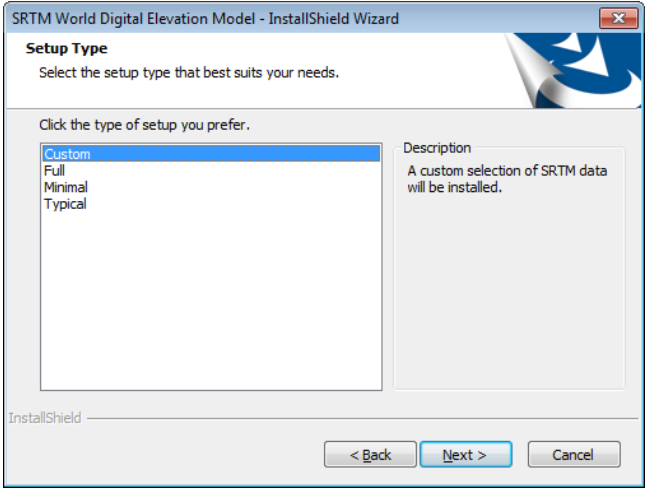
To install only selected areas, select ‘Custom’ and click Next
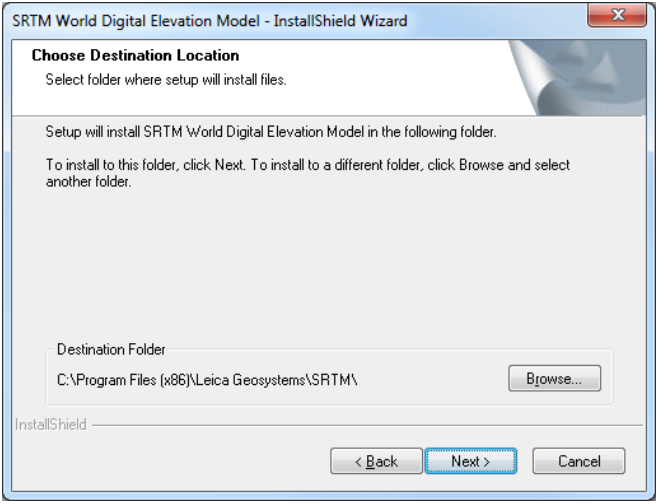
Confirm the default location or browse to a preferred location. Click Next
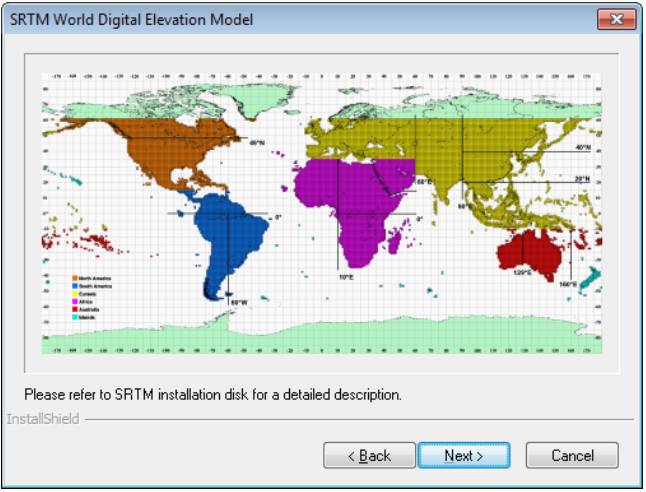
The dialog shows graphically the various areas available for installation. Click Next
to continue.
To install only selected areas check the desired areas
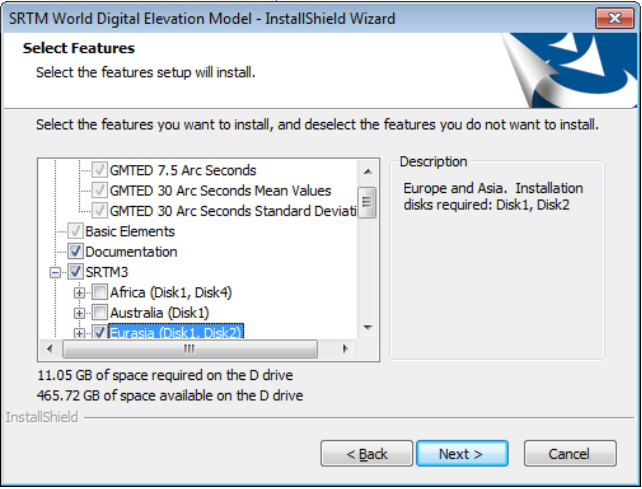
After selecting the areas, click Next
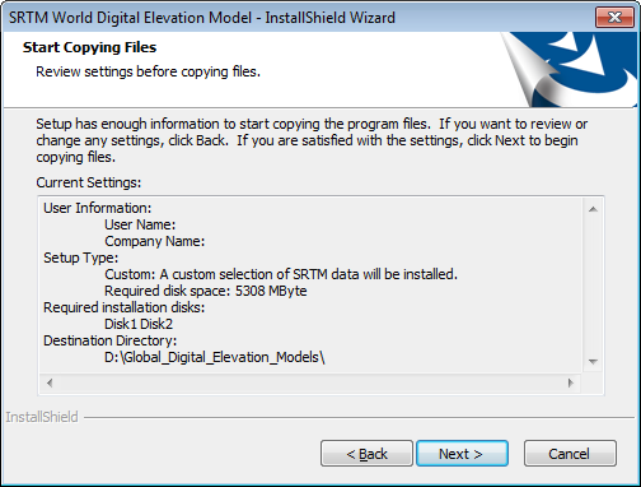
Review the installation settings. Click Next to start the installation